Learn how to make this card by signing up for my newsletter (to the right). The newsletter will go out next Tuesday.

 Two of the 3 1/2 by 3 1/4 pieces need to be distressed (I used black on this Roxie paper) and attached to the side. I recommend using both Tombow adhesive and glue dots to attach firmly as these will be handled.
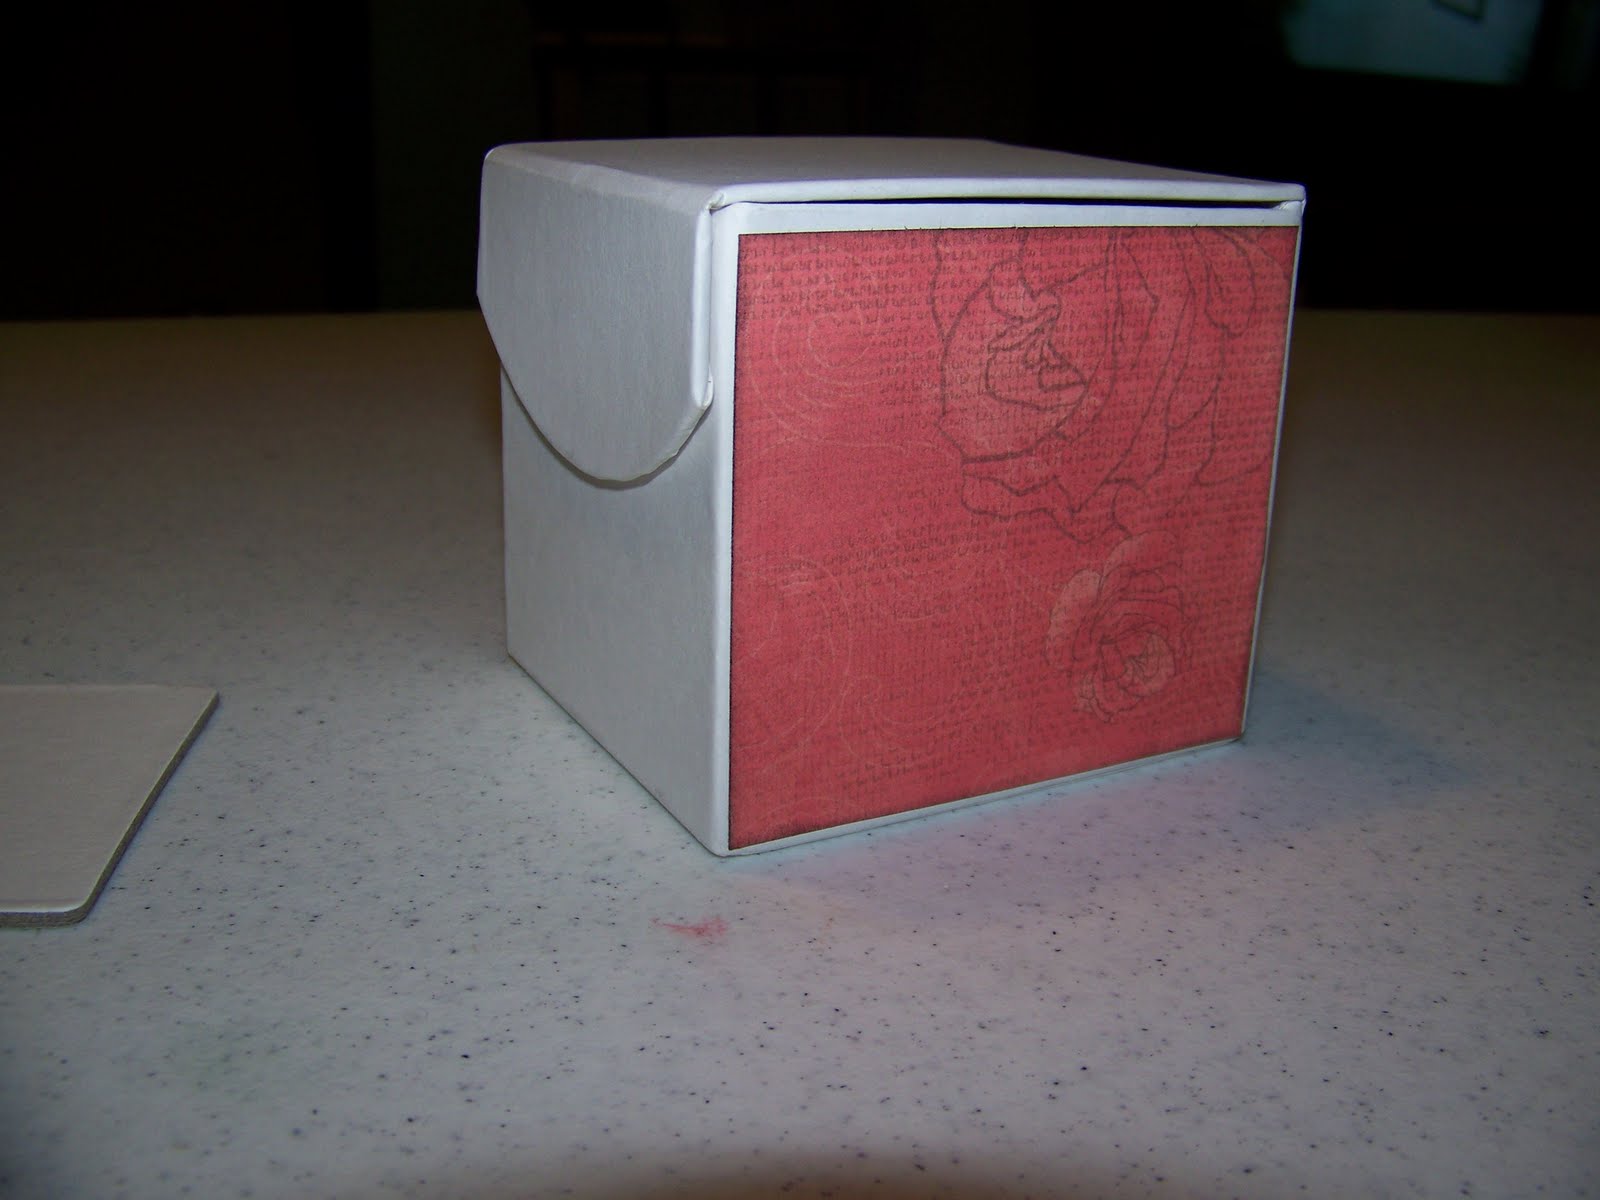 The top also needs to be 3 1/2 by 3 1/4 and distressed. Isn't this paper beautiful?
 To cut the front of the box, trace around the flap's curve on another of your 3 1/2 by 3 1/4 paper and cut it out. I did cut out a piece for the inside of the top cover, it's up to you (3 1/2 by 3 1/4).
 Distress and attach it to the front. I trimmed a bit to get it to look the way I wanted.
  Here's the top of the second box, it was fun making two at a time.
 Trace around the 1 3/4 by 3 1/4 piece around the front flap and trim to make it fit. Don't forget to distress.
 Here is the background papers, distressed and attached to the 24 coasters. You can also add 2 1/2 by 2 1/2 mats. (not shown) Imagine all the things you could so with these memory boxes. I have a list I'm going to give you soon.
 For the bucket list side, distress your 3 x 3 papers and attach. Add 2 x 2 and 1 3/4 x 1 3/4 as shown. If you do not want to use this box for a bucket list, you might want larger squares.
 Stay tuned tomorrow to see how to decorate your box and don't forget to place your order HERE to be entered into the drawing for the memory box!
 The rhinestone designer brads are perfect to make a little "clasp" on the front of each box.
  Since it's a brad I was able to punch a hole in the lower center of the front and attach it. The boxes close magnetically so no velcro or anything else is necessary.
 There are adorable little corner decorations on the stickease that were very nice for this box, just two attached down at the bottom.
  Here's the second box with the vine on top.
 Now, using your Art Philosophy cartridge for your cricut, cut the 3 -d flowers in sizes 3 and 4 inches. Distress the edges then roll towards the color you want to show. Once you have it fluffed up a bit, use either a glue dot or liquid glass to attach to the base of the flower. Let dry then attach a rhinestone if you like and use a glue dot to attach to top of box.
 On the side I wanted to fill up some space on this particular box. I used a strip of plaid paper cut one inch shorter than the base background paper.
  Add stickers from the set as you like.
 Here's the paper added to the second box. I also added some sparkles instead of stickease to this one.
 On the back I added buttons with waxy flax tied to them. I love this look.
  Here are the completed boxes. I can't wait to make another one. Next up will probably be a Christmas countdown box!!! Stay tuned.


