I got the idea for this particular box off from the Roxie Workshop on the Go bonus project. Even though I decorated a bit differently the basic directions are the same as you see right HERE. Use the cutting instructions for the paper that decorates the box and the inside coasters.
The Memory Game box is a low-cost way to do some creative papercrafting. We all have leftover paper and embellishments that we'd love to turn into some special gift or even something for ourselves. I loved the idea of making a bucket list as I've recently turned 50 and have some more things I want to do before I "kick the bucket."
I've decorated my boxes differently than the ones in the bonus project instructions but the sizes are the same so go ahead and cut your paper as shown in the cutting instructions and then do the following.
Since I made two boxes I cut a lot and the best thing about cutting these papers this time is that I was able to do almost all of it on my Cricut using the new Art Philosophy cartridge. Just use the rounded square button to cut all the paper for the coasters. I also added background paper (3 x 3) and mats on the back side that measure 2 1/2 by 2 1/2.
 Two of the 3 1/2 by 3 1/4 pieces need to be distressed (I used black on this Roxie paper) and attached to the side. I recommend using both Tombow adhesive and glue dots to attach firmly as these will be handled.
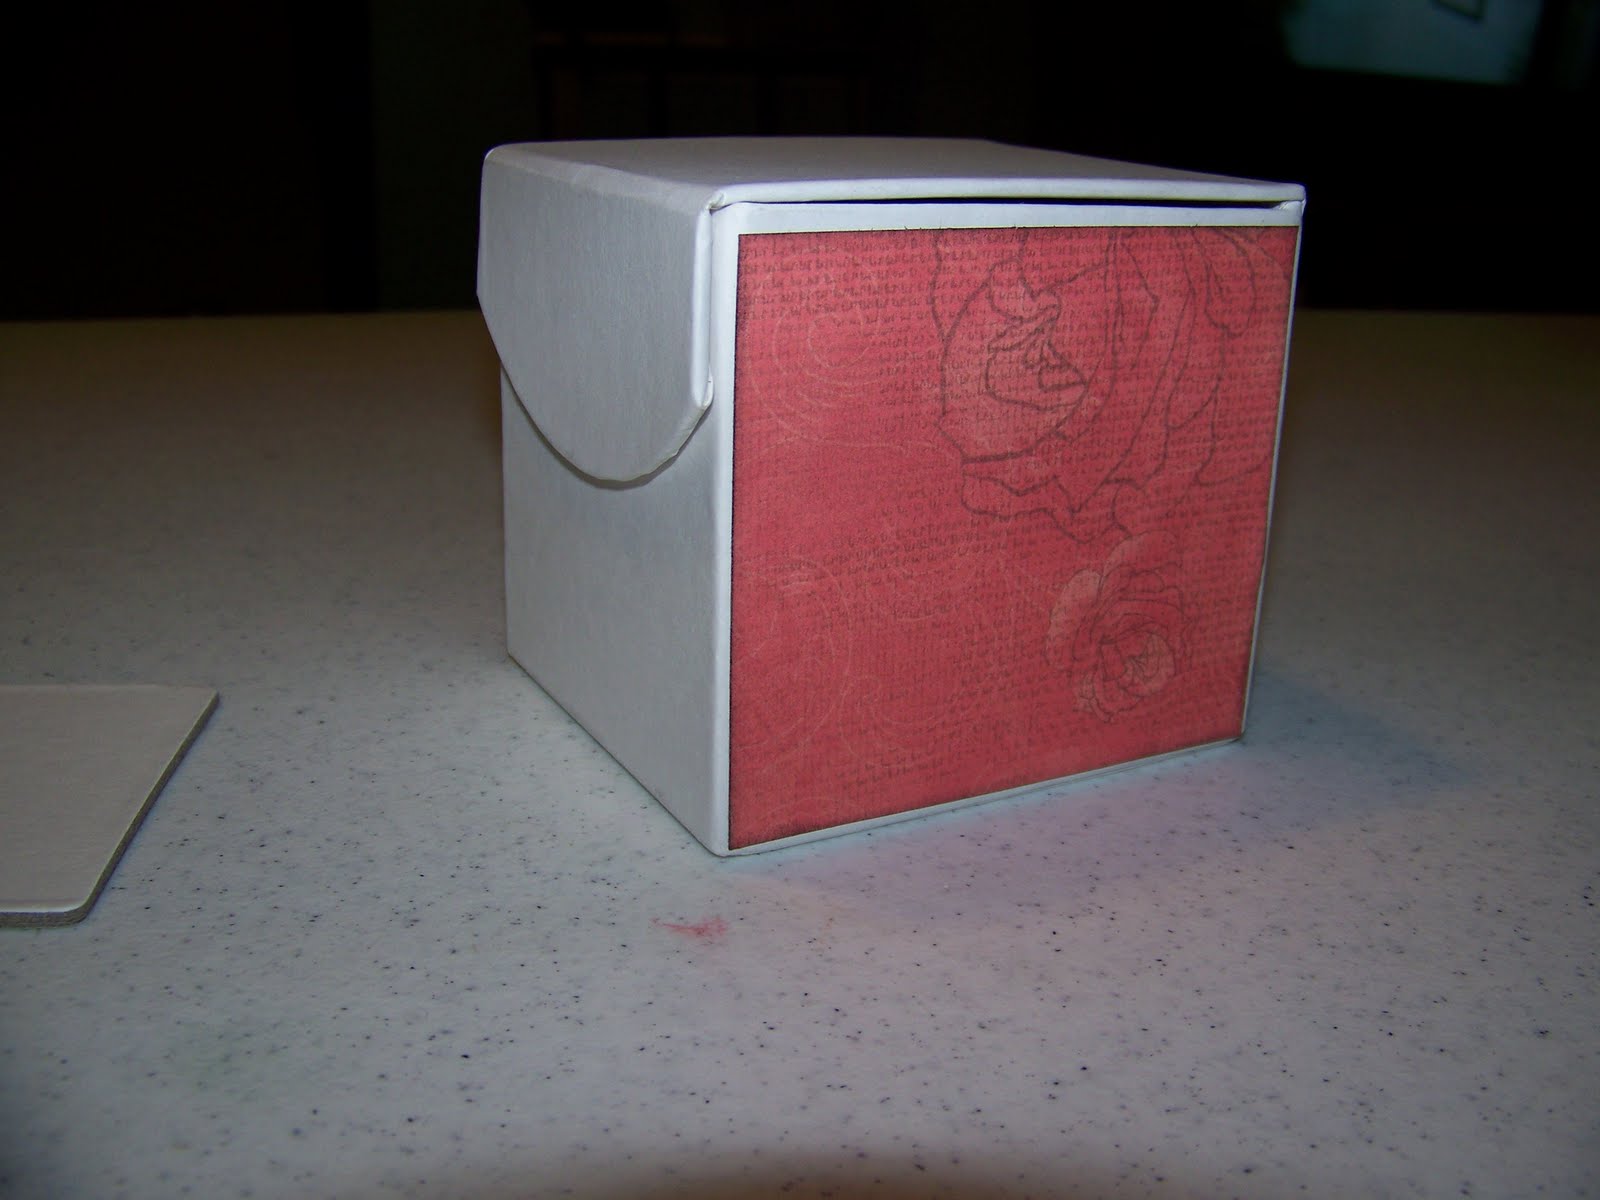 The top also needs to be 3 1/2 by 3 1/4 and distressed. Isn't this paper beautiful?
 To cut the front of the box, trace around the flap's curve on another of your 3 1/2 by 3 1/4 paper and cut it out. I did cut out a piece for the inside of the top cover, it's up to you (3 1/2 by 3 1/4).
 Distress and attach it to the front. I trimmed a bit to get it to look the way I wanted.
  Here's the top of the second box, it was fun making two at a time.
 Trace around the 1 3/4 by 3 1/4 piece around the front flap and trim to make it fit. Don't forget to distress.
 Here is the background papers, distressed and attached to the 24 coasters. You can also add 2 1/2 by 2 1/2 mats. (not shown) Imagine all the things you could so with these memory boxes. I have a list I'm going to give you soon.
 For the bucket list side, distress your 3 x 3 papers and attach. Add 2 x 2 and 1 3/4 x 1 3/4 as shown. If you do not want to use this box for a bucket list, you might want larger squares.
 Stay tuned tomorrow to see how to decorate your box and don't forget to place your order HERE to be entered into the drawing for the memory box!


No comments:
Post a Comment