Showing posts with label easy card. Show all posts

Monday, March 15, 2010

Party!

I was excited when I saw this card idea. I love the idea of it being lots of layers and matting. I used Good Times paper and the It's Your Day stamp set. Hope the colors look right to you all, my computer monitor broke and I'm using one that seems to have a yellow tint to it, yikes! This is a 5 1/2 by 4 1/4 card and you'll need to cut as follows:

8 1/2 by 5 1/2 white daisy card base folded in half
5 1/4 by 4 pattern paper
1 by 4 1/4 pattern paper strip
1 1/4 by 4 1/4 buttercup card stock strip
1 1/2 by 4 1/4 sweet leaf card stock strip
2 by 2 white daisy card stock square
2 1/4 by 2 1/4 buttercup card stock square
2 1/2 by 2 1/2 twilight card stock square
2 buttons that match
Distress all with twilight ink.

Glue large pattern paper to card base.

Glue the three strips together small to large and attach to center of the card.

Glue the buttercup square to the twilight square and attach to center of card.

Stamp the present on your small white square in sweet leaf and the ribbon in buttercup.

Stamp the party word in twilight on the present.

Glue stamp image square in the middle of your card.

Attach two buttons with glue dots, one on each side of the square and you're done!

Wednesday, March 3, 2010

Made for each other

Remember the movie, Sleepless in Seattle? There was one scene with Meg Ryan is talking to Rosie O'Donnell and they are reading a letter that Tom Hank's character's son wrote pretending to be his dad. In it he said that Meg (as Annie) and Tom (as Sam) were M.F.E.O., "made for each other." That's the first thing I thought of when I saw those words on the Love you Forever stamp set. This was the first set that I bought out of the spring catalog this year, I had to have all the sweet little animals and the "made for each other" sentiment. For today's card you will need that set and some cardstock.

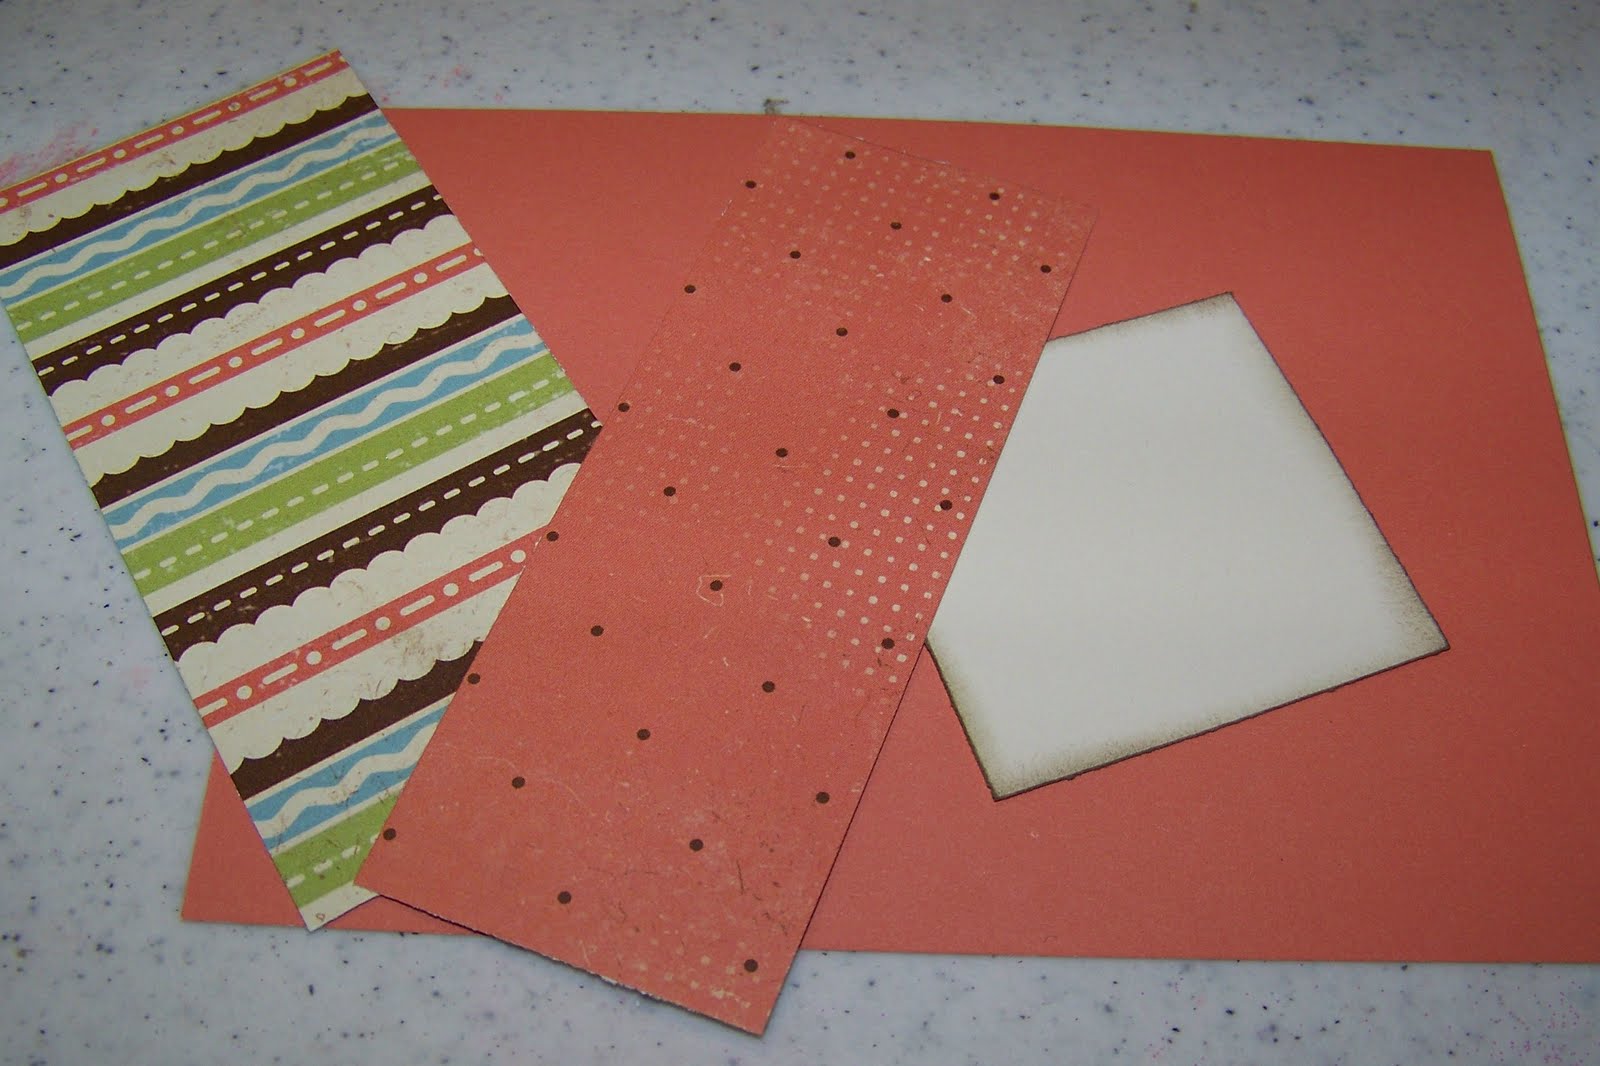
Sorbet cardstock, cut at least three pieces all 4 1/4" by either 1/2" or 1/4"
Same with twilight, bamboo, and sweet leaf
Also cut a piece of colonial white cardstock 2" by 3 1/4" and one 1 1/2" by 1 1/4"
Cut one piece of sorbet cardstock 1" by 3 inches
Bamboo cardstock cut 5 1/2" by 4 1/4"
Colonial white cardstock cut 8 1/2" by 5 1/2" folded in half

Distress everything with chocolate or cocoa ink and start putting the stripes on the card horizontally. I use a straight edge ruler or piece of paper to help me make sure to line up my stripes straight. Here I've used paper flush with the bottom and added the sorbet strip along the pattern paper's edge to make sure it's straight. Glue it down right there then work your way up leaving spaces that are wide or narrow or both like I did.


Keep going all the way up the card making it look almost random in the spacing.

It should look somewhat like this when you are finished. You can trim off the side if the stripes aren't all even.

Round two of the corners on the tag and attach 1/2" down from top, leaving right edge flush with edge of card.

Add sorbet strip as if it's it's holding down the tag, about 1/2" from left hand side of the tag.

Add your embellishments and stamping, using cocoa or chocolate ink. The arrow and brad are colonial white. Poke a hole across from where you stamp the sentiment. Add a little glue under the arrow so that it will stay pointing.

Stamp two little birds on the small square and color in with sorbet and sweet leaf inks and your blending pen.

Add birds to lower left of card 1/2" from the left and 1" from the bottom. Poke holes for three brads to balance the card out on the lower right side. Isn't this a cool color combination. Now go make your own!!

Thursday, January 21, 2010

Invitations using You Rock paper

I have a great party coming up with a wonderful hostess and I wanted to make some invitations that would really reflect her personality. Having Close to my Heart parties is all about friendships and so this card uses the wild colors of You Rock but the sweet friendship title and butterflies from Friendship's Flight. I made a lot of cards (21) at once so you'll see most of these cards in groupings.

Cut your papers as follows:

White cardstock - 8 1/2" by 5 1/2" card base, folded in half and attach card front to it when finished
Cardstock color of your choice from You Rock pack (Indian corn blue, outdoor denim, goldrush) - 5 1/2" by 4 1/4"
Pattern paper - 2" by 4 1/4"
Cardstock of same color as above - 1 3/4" by 4 1/4"
White cardstock - 2" by 2"
Outdoor denim pattern paper - 1 3/4" by 1 3/4"

Distress all with outdoor denim ink and a sponge tool.

Round the two corners on the right hand side of the card front with a corner rounder.

Using your trimmer's groove and a dry embossing tool, emboss two lines 1/2" apart from side and from each other around all four outer edges as shown. Sand with sandpaper block.

Glue pattern paper strip under the second embossed line from the top.

Emboss cardstock strip with four lines and sand. These can be random lines. Attach cardstock strip directly in the middle of the pattern paper strip.

Using goldrush ink and a butterfly base stamp (two step stamping used here), stamp it on the white square.

Stamp the outline of the butterfly in outdoor denim ink. Use a wiry brush tool to dab little specks of outdoor denim ink all over the piece.

Attach butterfly piece 3/4" from left side and top of the card.
In the rectangle made by the embossed lines, stamp the "Life is nothing without Friendship" phrase in outdoor denim ink on the lighter colored papers, in white daisy on darker paper. Glue your card front to the card base with the fold on the left. Remember to always line up your card with the fold first because the other sides can be trimmed (folds can't). Now wasn't that easy?

Thursday, January 14, 2010

Same pattern, different card

Close to my Heart's Wishes and Originals book are wonderful. They provide patterns to make cards so I'm never at a loss for an idea. The card yesterday and today were both based on a basic pattern I found in these books. For this card I used Veranda paper instead of Caboodle but I still started with a 5 1/2 by 4 1/4 ruffled pre-cut card I bought at the store. You don't have to though, just cut your paper the same way and ruffling it is up to you.

These ruffles especially take well to a sponge tool and a little cocoa ink. Distressing the edges of your paper is so easy and makes a big difference.

Is this paper not gorgeous? Cut a piece of the juniper cardstock 5" by 3 3/4". Attach it to the ruffled card front. Now cut your Veranda pattern paper 4 3/4" BY 3 1/2" and attach it to the center of the juniper cardstock.

Cut another piece of the pattern paper (for contrast) 4 3/4" by 2" and glue it up one half inch from the bottom of the card's bottom. See how the distressing makes the papers stand out from each other?

Cut a piece of colonial white cardstock 2" by 2" and a piece of juniper cardstock 2 1/4" by 2 1/4" and attach them to each other and then add to the upper left of the card about a half inch from top and left side. I used the brand new A Posey set, with it's new lower price! Stamp the words Best Wishes on a piece of colonial white cardstock cut 2" by 1/2" in juniper ink and glue on lower right side of card as shown.

Using the posey from the set, stamp it in juniper ink on a separate piece of white cardstock. Stamp the center with creme brulee ink. Cut it out and distress the edges in cocoa.

Stamp two leaves in garden green ink, cut them out and distress in cocoa ink.

Glue the leaves to the bottom of the flower then add to the card as shown. Remember yesterday I didn't add extra embellishments so as to make it easy to write on the back of this postcard. This type of postcard goes in an envelope so that the artwork stays intact. You can see the beautiful Veranda paper adds so much to this card. Enjoy!

Saturday, November 28, 2009

All My Love

How often do you let people know how much you appreciate them? Valentine's Day shouldn't be the only day you let your special guy or girl know that you love them. Here's a card to do just that. The set is appropriate, All My Love. and if you like hearts, this is covered with them. The paper is Twitterpated and here are the measurements:

8 1/2 by 5 1/2 colonial white cardstock, folded in half. Once finished with card front, attach it to this base
5 1/2 by 4 1/4 sorbet cardstock
2 by 4 1/4 striped pattern paper
1 3/4 by 4 1/4 sorbet dotted pattern paper
2 by 2 colonial white cardstock

Distress if desired with chocolate ink.

Use your trimmer and a dry embossing tool to make two lines around the outside of each side of the card about a 1/4 inch apart, sand to show white core.

Glue the polka dot paper on the striped paper then attach about and inch and a half down from the top of the card (opening to the right). See how easy this comes together!

Stamp the "i love you" heart on the colonial white cardstock square using sorbet ink.

Glue that piece about a half an inch from top and left hand side of the card.

Stamp the word "cherish" on the card just below the striped piece as shown.

Round the corners with a corner punch and re-distress the edges and you are finished! Give this card to someone you love!

Sunday, November 8, 2009

Card Commentary

Sometimes all your card needs is a simple word that says it all. On the Card Commentary stamp set there are four words that say so much.

For this card you'll need Twitterpated paper. Twitterpated uses such pretty colors that you can't mess up a card or scrapbook page made with it. Cut your paper like this:

8 1/2 by 5 1/2 colonial cardstock, folded in half to make card base

5 1/2 by 4 1/4 sweet leaf cardstock

2 by 4 1/4 striped pattern paper

1 1/2 by 4 1/4 polka dotted sorbet paper

Using your paper trimmer and a dry embossing tool make lines on your card front (the sweet leaf paper). Make two lines 1/4 inch down from the top of the card and apart from each other and 4 lines 1/4 inch from bottom and apart from each other. Also make one line on each side of the card vertically 1/4 inch from edge of card. Sand with a sanding block. Add striped paper 1 inch from the top of the card.

Glue pink polka dotted paper in the center of the striped paper.

Stamp the word "dream" in sorbet ink under the striped paper. Don't worry if some of the swirl from the stamp go off the paper.

Add sorbet waxy flax to a sorbet button. Attach it to the center of one of our Just Blooms flowers. Put the whole thing on your card as shown.

Add three sorbet brads along the 2nd line up from the bottom, centered about an inch apart. Cards do not have to take a lot of time to be pretty. This is a card that took less than 15 minutes so you can do it!

Saturday, November 7, 2009

You Rock

My husband is not really good at gift-giving when it comes to me but he did get it right about five years ago when he gave me a real acoustic guitar. I'd always wanted one though I don't remember really ever telling him. I took lessons for 2 years before moving and needing to use the money on other things. I really love that guitar and so have a particular soft spot for this stamp set, called You Rock.

I was given a challenge by my upline's upline's upline's upline (ha ha) to do a workshop based on an 8 card making pattern and so far have made two of the cards. Here's the first one and I love it, hope you will too. The paper pack is Twitterpated, definitely the best of our new paper sets in my humble opinion.

Cut the paper as follows:

5 1/2 by 8 1/2 colonial white cardstock, fold in half for card base

5 1/2 by 4 1/4 sweet leaf cardstock for card front

5 1/4 by 4 sorbet pattern paper

4 by 2 1/2 chocolate pattern paper

4 by 2 striped pattern paper

4 by 2 1/2 sorbet pattern paper

3 3/4 by 2 1/4 colonial white cardstock

Distress everything with chocolate ink.

Glue chocolate pattern paper in center of the large sorbet pattern paper.

Attach that to the large sweet leaf card front.

Add striped pattern paper directly in the middle of the chocolate pattern paper. Isn't it wonderful how they all go together?

Put smaller sorbet pattern paper vertically in the center of the card as shown.

Stamp the guitar on the colonial white cardstock using sweet leaf ink. Tilt it slightly to make it fit. Don't forget to use the foam cushion that comes with the stamp set under your paper.

Stamp Rock On as shown using crystal blue ink.

Use wiry sponge tool to make tiny little specks of sorbet color all over the stamped piece.

It really fills in the area so it doesn't look so blank.

Attach this to the center of the sorbet pattern paper frame.

Here are our pretty Twinkle Brads, they are actually in pastel colors, the photo doesn't show their true colors.

Add five of them to the bottom of the cards, about a 1/4 inch from the bottom.

Put a dot of glue on all the tiny chocolate brown dots on the pattern paper and cover with glitter.

This is a rocking card so we need a little glitter and shine, right? Stamp one of the other sentiments on the stamp set inside the card and attach the whole card front to the card base. Enjoy!