Since I had to send my actual pages ahead to the Megameet I will be estimating sizes below but that doesn't matter as you should always alter directions to fit your own photos. Key to my Heart paper was always one of my favorites. Unfortunately Close to my Heart only had it out for one month as a special. I scooped up a lot of it but it's gone now, goes to show you don't let your favorites get away. The colors are sorbet, juniper, creme brulee and tulip. You may ink distress all edges with juniper ink.
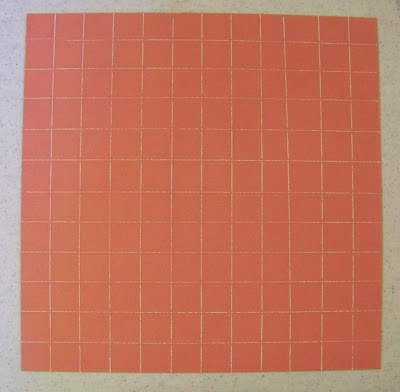
I'm big on dry embossing for cards and I use it occasionally for my layouts too. Because I was using a lot of cardstock on this layout and I love, love, love texture, I decided to actually dry emboss the whole 12 x 12 base page. You can too but taking your dry embossing tool and the groove in your trimmer to make a raised line on your paper. I made mine into 1" squares and then sanded them to show off the white core of our cardstock.
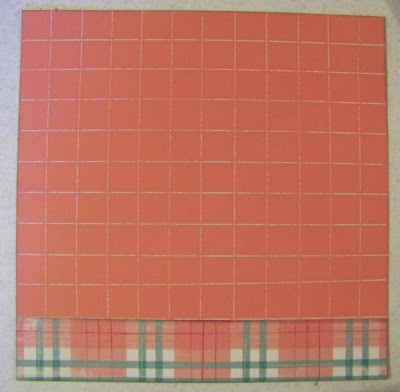
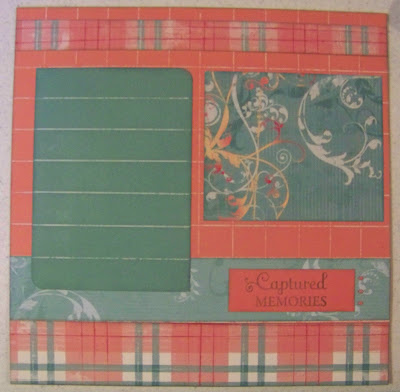
 Add a two inch by twelve inch strip of matching pattern paper flush with the bottom of the page.
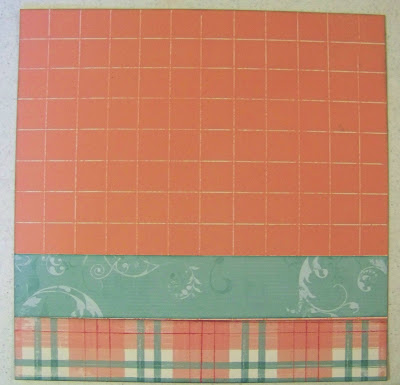
 Directly above that strip choose another pattern paper, cut it two inches by twelve inches and glue it down flush with edges.
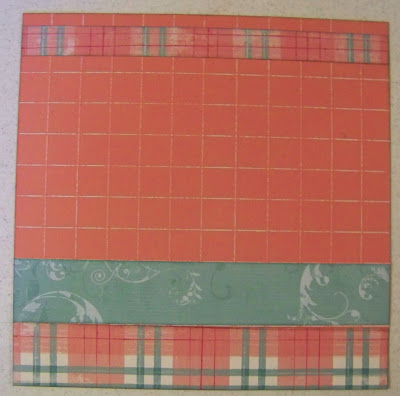
 At the top take another pattern paper or match one of the papers that you've already used and cut it one inch by twelve inches. Glue it down 1/2 inch from the top keeping edges flush.
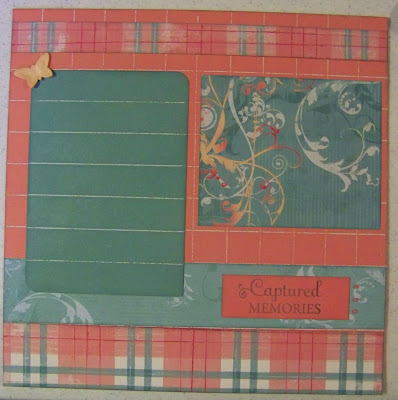
 Cut a five by seven inch mat out of juniper cardstock. Dry emboss lines in it one inch apart and sand. Cut off the opposite corners with corner rounder. Add it to the page two inches from the top of page and one inch from left hand side.
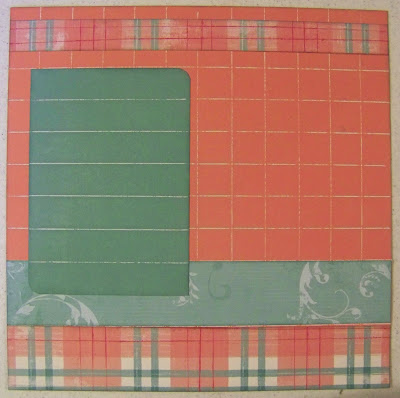 Add five by four inch pattern paper mat to the right of the other mat keeping it on the same embossed line, about 1/2 inch from juniper mat and right hand side of the page.
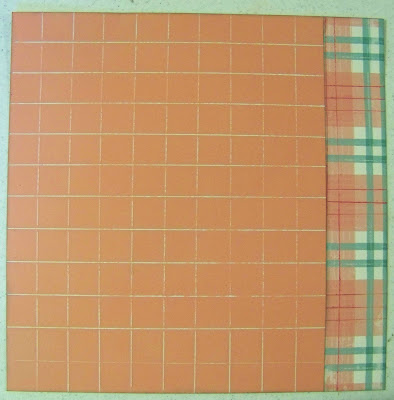
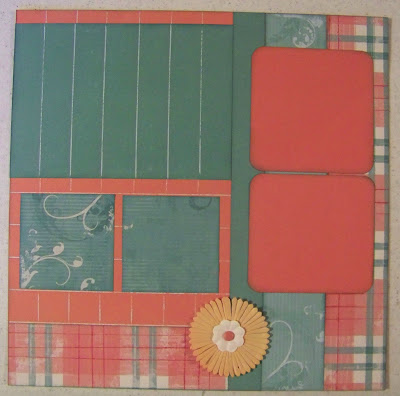
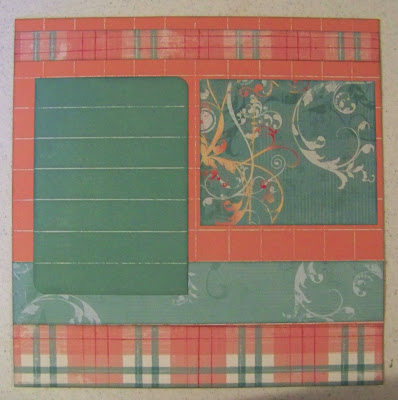 On page two emboss your background as mentioned on page one. Glue down a two inch by twelve inch patterned paper strip vertically on the right hand side of the page keeping it flush with edges.
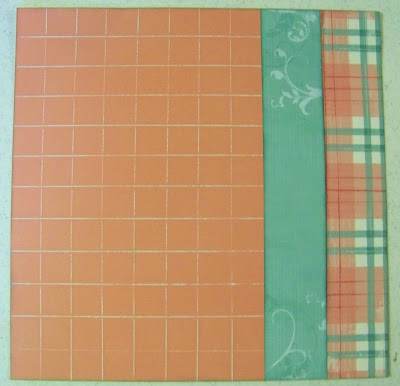
 Cut another pattern piece two inches by twelve inches and attach next to first piece.
 Cut another pattern paper (or use the same one as your first) seven by two inches and attach to the left bottom of the 12 x 12 page.
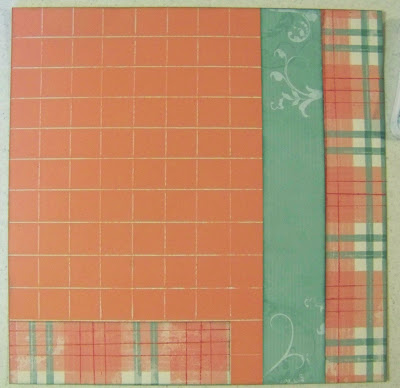 Add juniper cardstock strip cut one by twelve inch and attach directly to the left of the first two pieces keeping edges flush.
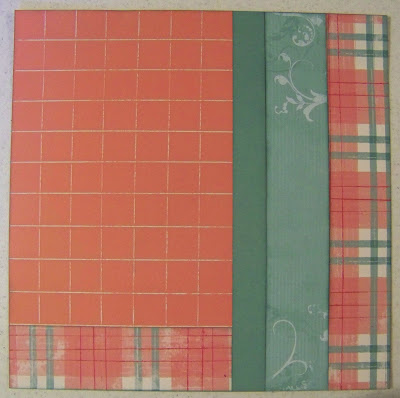 Cut seven by five juniper cardstock piece, dry emboss lines one inch apart and sand. Add to 12 x 12 base page horizontally about 1/2 inch from top, flush with the left side as shown.
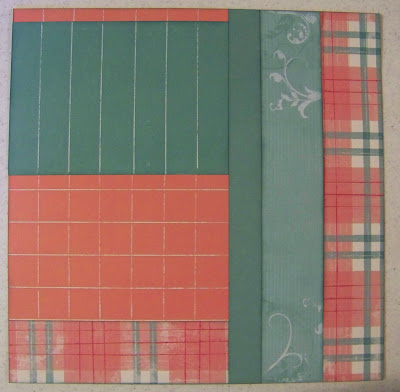 Cut two three by three inch pieces out of pattern paper and glue centered under the juniper mat about a 1/2 inch down and 1/4 inch apart.
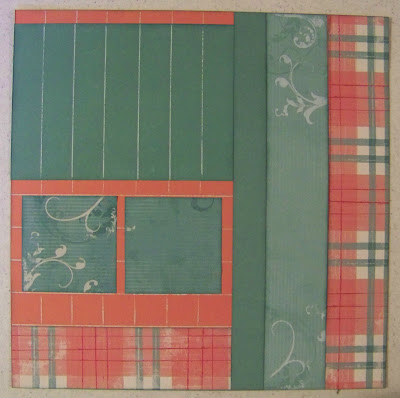 Add three by one inch title piece out of sorbet cardstock. Stamp it with the title of your choice. I used the Key to my Heart stamp set to title my page "Captured Memories." Add it about 1 1/2 inches from right hand side of page onto the second strip up from the bottom.
 Add one of our pretty little butterflies from our Just Blooms spring blossom set to the upper left of the juniper mat.
 Cut two four by four inch sorbet cardstock squares and cut off the corners with a rounder. Add them 1 1/2 inches down from the top of page, 1/2 inch from the right hand side of page. Have about 1/8 of an inch apart from each other. Add and layer the spring blossom flowers of your choice with a tulip brad in the center. Glue it just right of the bottom center of the page.
 Attach three juniper brads just under the first of the pattern paper mats.
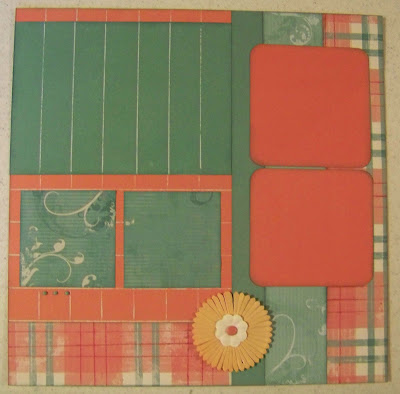 That's it, you're ready for pictures. Enjoy and come visit us at the megameet!


Beautiful layout, and thanks for the tutorial. Any tips for the sanding? I would love a video tutorial on that since you use it so much. Like, what you use (a block vs. sandpaper) and how to hold the block/sandpaper to get different effects, etc. Thanks.
ReplyDeleteYay! I love your tutorials and that's why I reminded you! You do great work Barb!
ReplyDelete