Hello and welcome to the December Stamp of the Month blog hop. A whole bunch of Close to my Heart consultants get together every month to showcase the stamp set that you can get at a discount or free this month with your Close to my Heart order. If you arrived here from
Tanya's blog you are on the right track.
Don't forget to read the news about the BIG BIG clearance sale below this post.
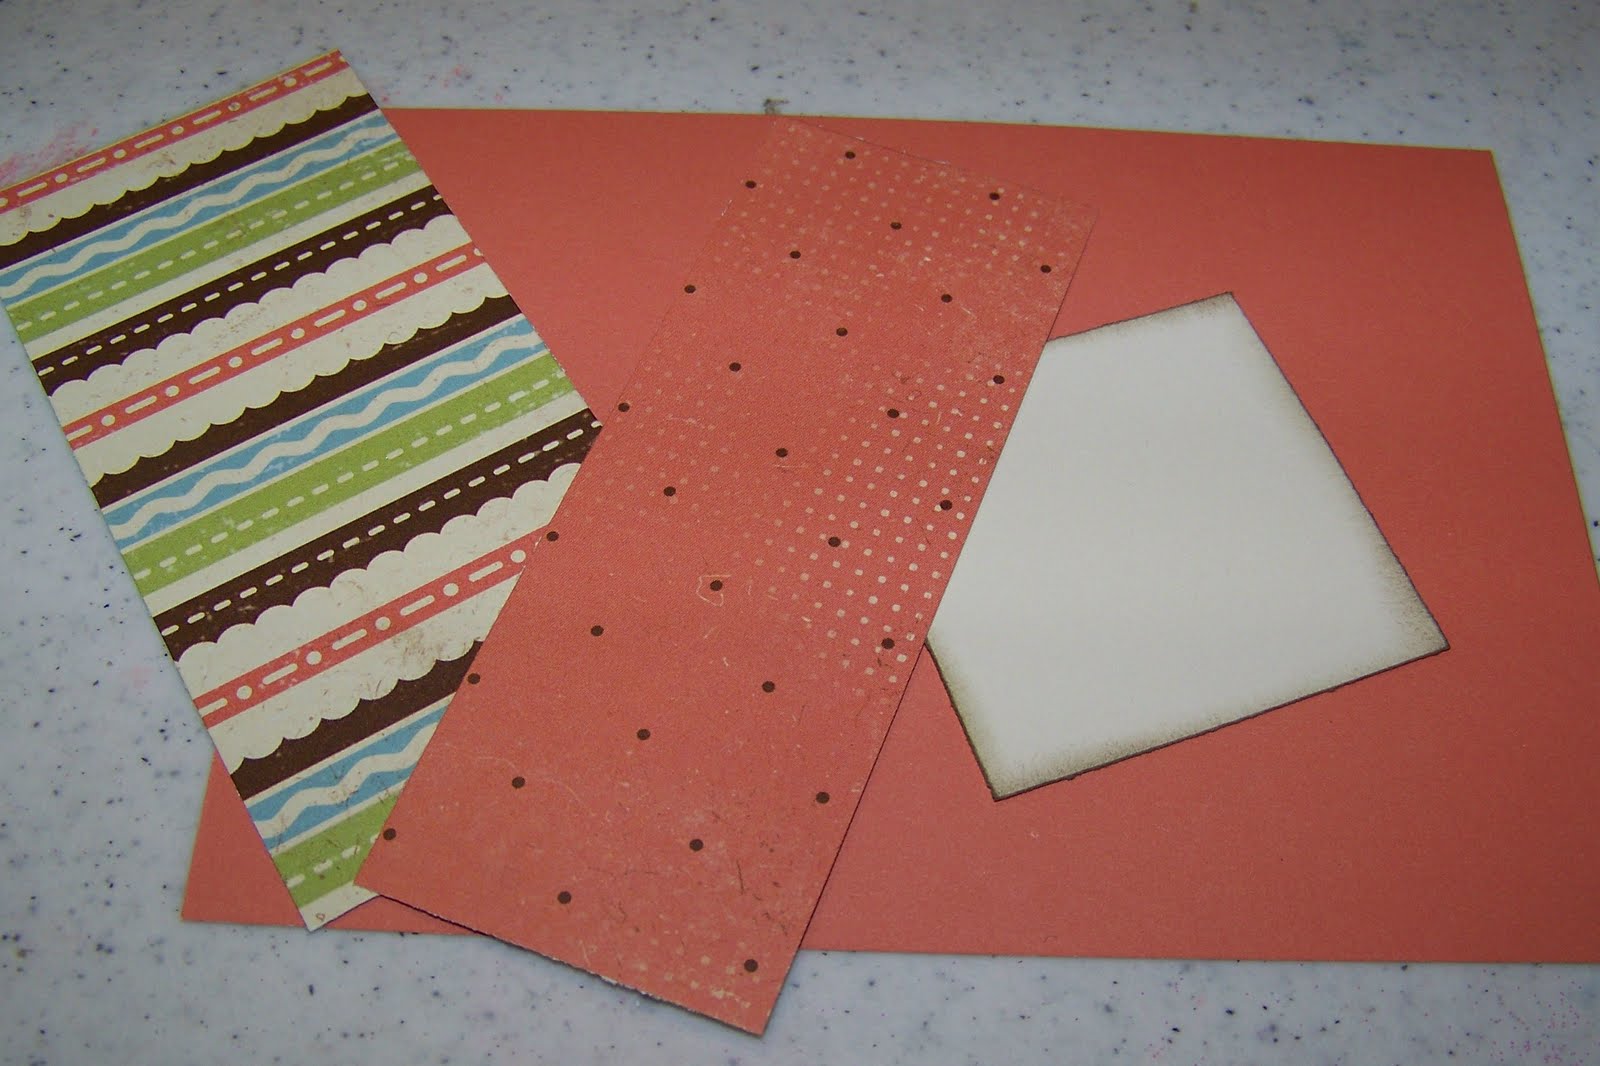
You need to cut a piece of white cardstock 5 1/4" by 6". I used textured white cardstock because it lends a nice look to something that doesn't have to be quite perfect and is maybe a little messy. Fold the paper so that the longest ends meet, use a corner rounder on all four corners then distress with black ink. Now choose one of the stamps from the set and stamp it a few times on side one (rounded ends at the bottom) and then on the back side also keeping the rounded ends at the bottom so your checkbook cover will look upright on both sides. I lined up the numbers (which all come separately) on a block to stamp several times. I used Grey Flannel, Grey Wool, Holiday Red, and Black ink pads for this.

Now take another stamp and another color and, keeping in mind that you want all of these to be in a straight line, stamp the next stamp on both sides of the cover.

Continue with another stamp. I made sure that I just sprinkled the red here and there to brighten up the darker colors.

The arrows were fun to use because I could turn them any way I wanted. You want to show "movement" in your scrapbooking, stamping and paper crafting, the arrows work for that.

Continue on mixing colors and stamps as you stamp in straight lines. Fill in spaces with the little stamps like the crayon and the words. Doesn't this look cool?

Now take your wiry sponge and dot little tiny black specks all over the cover. That fills it in so it doesn't look too white. Remember the best reason to distress your paper crafts and such is that it covers a vast amount of mistakes!

You could stop stamping at this point if you like the look of the cover so far or go another step and do some layering. Layering papers on each other is what takes an ordinary paper craft (or card or layout) to something really fantastic. Cut a piece of white paper about 5 1/4" by 1/2", stamp the numbers on it in the red so they really stand out, distress. Mat it on a piece of black paper cut 5 1/4" by 3/4".

If you have a couple of circle punches, now's the time to pull them out. This is a 1 1/2" circle with a 1 3/4" scalloped punch, distressed and stamped. Since I'm always happy when I'm spending money I figured that would be a good word to highlight.

Glue the strip of numbers 1/2" from bottom of the cover.

Add the circle embellishment on the lower left hand side of the cover as shown.

Now unfold the cover and glue it to a piece of black cardstock (also textured) that measures 6" by 6 3/4". You may have to adjust this size if your checkbook cover is larger or smaller, you never know with these things.

Now fold the whole thing back the other way and slip it into the checkbook's plastic cover, pushing each side in at the same time.

Fold it back the other way (now that it's in the plastic) and crease it with a bone folder. Here's what the back looks like.

Here's the front! That's it, now you have a new cover and it's time for Christmas shopping.

Now hop on over to
Laurie's blog. Thanks for stopping by!
 Now take another stamp and another color and, keeping in mind that you want all of these to be in a straight line, stamp the next stamp on both sides of the cover.
 Continue with another stamp. I made sure that I just sprinkled the red here and there to brighten up the darker colors.
 The arrows were fun to use because I could turn them any way I wanted. You want to show "movement" in your scrapbooking, stamping and paper crafting, the arrows work for that.
 Continue on mixing colors and stamps as you stamp in straight lines. Fill in spaces with the little stamps like the crayon and the words. Doesn't this look cool?
 Now take your wiry sponge and dot little tiny black specks all over the cover. That fills it in so it doesn't look too white. Remember the best reason to distress your paper crafts and such is that it covers a vast amount of mistakes!
 You could stop stamping at this point if you like the look of the cover so far or go another step and do some layering. Layering papers on each other is what takes an ordinary paper craft (or card or layout) to something really fantastic. Cut a piece of white paper about 5 1/4" by 1/2", stamp the numbers on it in the red so they really stand out, distress. Mat it on a piece of black paper cut 5 1/4" by 3/4".
 If you have a couple of circle punches, now's the time to pull them out. This is a 1 1/2" circle with a 1 3/4" scalloped punch, distressed and stamped. Since I'm always happy when I'm spending money I figured that would be a good word to highlight.
 Glue the strip of numbers 1/2" from bottom of the cover.
 Add the circle embellishment on the lower left hand side of the cover as shown.
 Now unfold the cover and glue it to a piece of black cardstock (also textured) that measures 6" by 6 3/4". You may have to adjust this size if your checkbook cover is larger or smaller, you never know with these things.
 Now fold the whole thing back the other way and slip it into the checkbook's plastic cover, pushing each side in at the same time.
 Fold it back the other way (now that it's in the plastic) and crease it with a bone folder. Here's what the back looks like.
 Here's the front! That's it, now you have a new cover and it's time for Christmas shopping.
 Now hop on over to Laurie's blog. Thanks for stopping by!


