Showing posts with label Twitterpated. Show all posts

Saturday, November 28, 2009

All My Love

How often do you let people know how much you appreciate them? Valentine's Day shouldn't be the only day you let your special guy or girl know that you love them. Here's a card to do just that. The set is appropriate, All My Love. and if you like hearts, this is covered with them. The paper is Twitterpated and here are the measurements:

8 1/2 by 5 1/2 colonial white cardstock, folded in half. Once finished with card front, attach it to this base
5 1/2 by 4 1/4 sorbet cardstock
2 by 4 1/4 striped pattern paper
1 3/4 by 4 1/4 sorbet dotted pattern paper
2 by 2 colonial white cardstock

Distress if desired with chocolate ink.
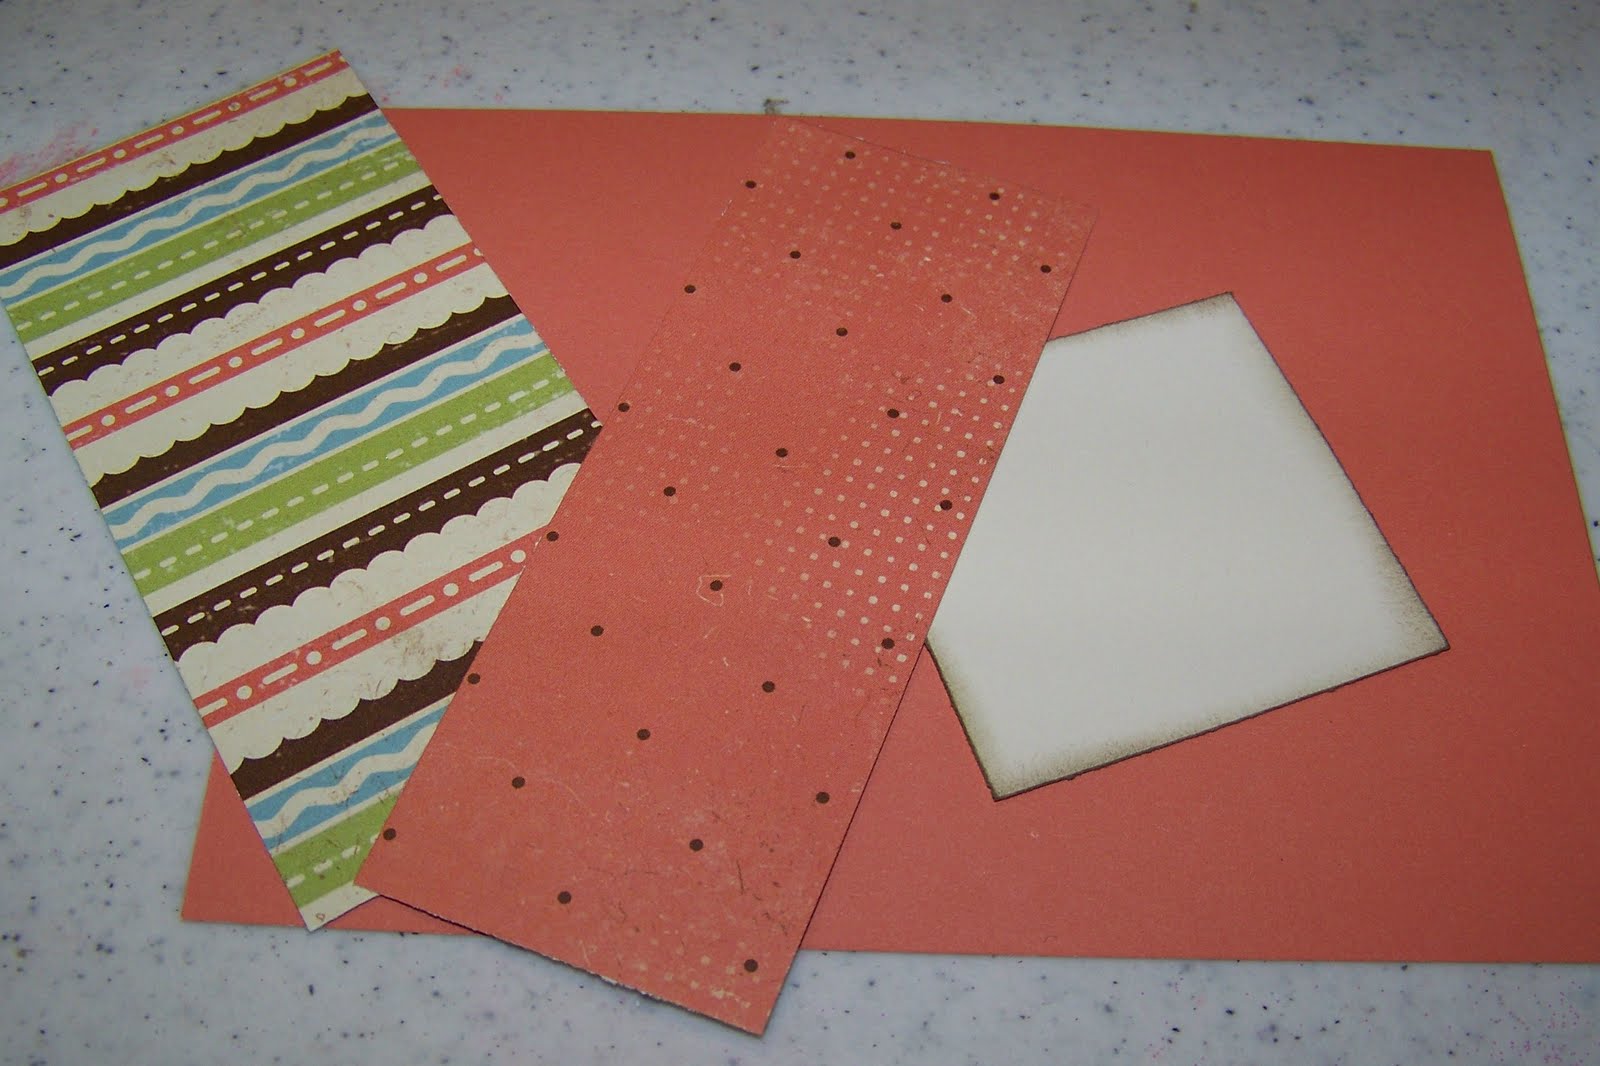
Use your trimmer and a dry embossing tool to make two lines around the outside of each side of the card about a 1/4 inch apart, sand to show white core.

Glue the polka dot paper on the striped paper then attach about and inch and a half down from the top of the card (opening to the right). See how easy this comes together!

Stamp the "i love you" heart on the colonial white cardstock square using sorbet ink.

Glue that piece about a half an inch from top and left hand side of the card.

Stamp the word "cherish" on the card just below the striped piece as shown.

Round the corners with a corner punch and re-distress the edges and you are finished! Give this card to someone you love!

Sunday, November 8, 2009

Card Commentary

Sometimes all your card needs is a simple word that says it all. On the Card Commentary stamp set there are four words that say so much.

For this card you'll need Twitterpated paper. Twitterpated uses such pretty colors that you can't mess up a card or scrapbook page made with it. Cut your paper like this:

8 1/2 by 5 1/2 colonial cardstock, folded in half to make card base

5 1/2 by 4 1/4 sweet leaf cardstock

2 by 4 1/4 striped pattern paper

1 1/2 by 4 1/4 polka dotted sorbet paper

Using your paper trimmer and a dry embossing tool make lines on your card front (the sweet leaf paper). Make two lines 1/4 inch down from the top of the card and apart from each other and 4 lines 1/4 inch from bottom and apart from each other. Also make one line on each side of the card vertically 1/4 inch from edge of card. Sand with a sanding block. Add striped paper 1 inch from the top of the card.

Glue pink polka dotted paper in the center of the striped paper.

Stamp the word "dream" in sorbet ink under the striped paper. Don't worry if some of the swirl from the stamp go off the paper.

Add sorbet waxy flax to a sorbet button. Attach it to the center of one of our Just Blooms flowers. Put the whole thing on your card as shown.

Add three sorbet brads along the 2nd line up from the bottom, centered about an inch apart. Cards do not have to take a lot of time to be pretty. This is a card that took less than 15 minutes so you can do it!

Saturday, November 7, 2009

You Rock

My husband is not really good at gift-giving when it comes to me but he did get it right about five years ago when he gave me a real acoustic guitar. I'd always wanted one though I don't remember really ever telling him. I took lessons for 2 years before moving and needing to use the money on other things. I really love that guitar and so have a particular soft spot for this stamp set, called You Rock.

I was given a challenge by my upline's upline's upline's upline (ha ha) to do a workshop based on an 8 card making pattern and so far have made two of the cards. Here's the first one and I love it, hope you will too. The paper pack is Twitterpated, definitely the best of our new paper sets in my humble opinion.

Cut the paper as follows:

5 1/2 by 8 1/2 colonial white cardstock, fold in half for card base

5 1/2 by 4 1/4 sweet leaf cardstock for card front

5 1/4 by 4 sorbet pattern paper

4 by 2 1/2 chocolate pattern paper

4 by 2 striped pattern paper

4 by 2 1/2 sorbet pattern paper

3 3/4 by 2 1/4 colonial white cardstock

Distress everything with chocolate ink.

Glue chocolate pattern paper in center of the large sorbet pattern paper.

Attach that to the large sweet leaf card front.

Add striped pattern paper directly in the middle of the chocolate pattern paper. Isn't it wonderful how they all go together?

Put smaller sorbet pattern paper vertically in the center of the card as shown.

Stamp the guitar on the colonial white cardstock using sweet leaf ink. Tilt it slightly to make it fit. Don't forget to use the foam cushion that comes with the stamp set under your paper.

Stamp Rock On as shown using crystal blue ink.

Use wiry sponge tool to make tiny little specks of sorbet color all over the stamped piece.

It really fills in the area so it doesn't look so blank.

Attach this to the center of the sorbet pattern paper frame.

Here are our pretty Twinkle Brads, they are actually in pastel colors, the photo doesn't show their true colors.

Add five of them to the bottom of the cards, about a 1/4 inch from the bottom.

Put a dot of glue on all the tiny chocolate brown dots on the pattern paper and cover with glitter.

This is a rocking card so we need a little glitter and shine, right? Stamp one of the other sentiments on the stamp set inside the card and attach the whole card front to the card base. Enjoy!

Sunday, September 20, 2009

Layout Roundup

I did some new layouts over the weekend at a 3 day crop, normally I do many more than 8 pages but I was helping to run the crop too and that meant I was out of my seat a lot. I did win the page contest though, check out the layout with the surfboards for the winning entry.


Saturday, August 15, 2009

Twitterpated Card Box

If you haven't signed up to be a follower, please do, one of my followers will win a bunch of blog candy (handmade craft items, some of which you see displayed in these posts).

I forgot to tell you what I make these boxes out of, they are our acrylic stamp holders, you can see one here! I've also tweaked the original instructions to make the inserts larger so make sure you check those out.

Here's another one of the boxes we'll be making in Niles, Michigan tomorrow. If this interests you and you live in mid to western Michigan or Northern Illinois, give me a call or email and we can talk about doing the workshop with your friends. This paper is one of our new ones called Twitterpated. I feel like it's okay to tell about this one because Jeanette Lynton, the founder of Close to my Heart has it on her website, you can see her blog at http://jeanettelynton.com/. Here's the front with Twitterpated paper and Tickled Pink stamps.


This is the sideview, both sides are the same, directions for this can be found *here.*


This is the back of the box with special buttons made just for this paper set. Aren't they cute?


This is the inside of the box, the labels were cut first with a fancy punch and then distressed and stamped with Say It In Style stamps. That's it, if I get a chance to complete the other kit I made with Bella paper for the workshop, I'll post pics of that. Have a great day!