Saturday, December 26, 2009
Ideas?


Friday, December 18, 2009


Tuesday, December 8, 2009
How to alter a notebook
To decorate this one I used Key to my Heart paper, my absolute favorite, in fact, I bought six packages from the clearance sale (see right sidebar) and am considering buying more before they run out.
 For the background cut colonial white cardstock paper 4 1/4 by 6 1/2. Cut the pattern paper 4 by 6 1/4. Distress both pieces with juniper ink.
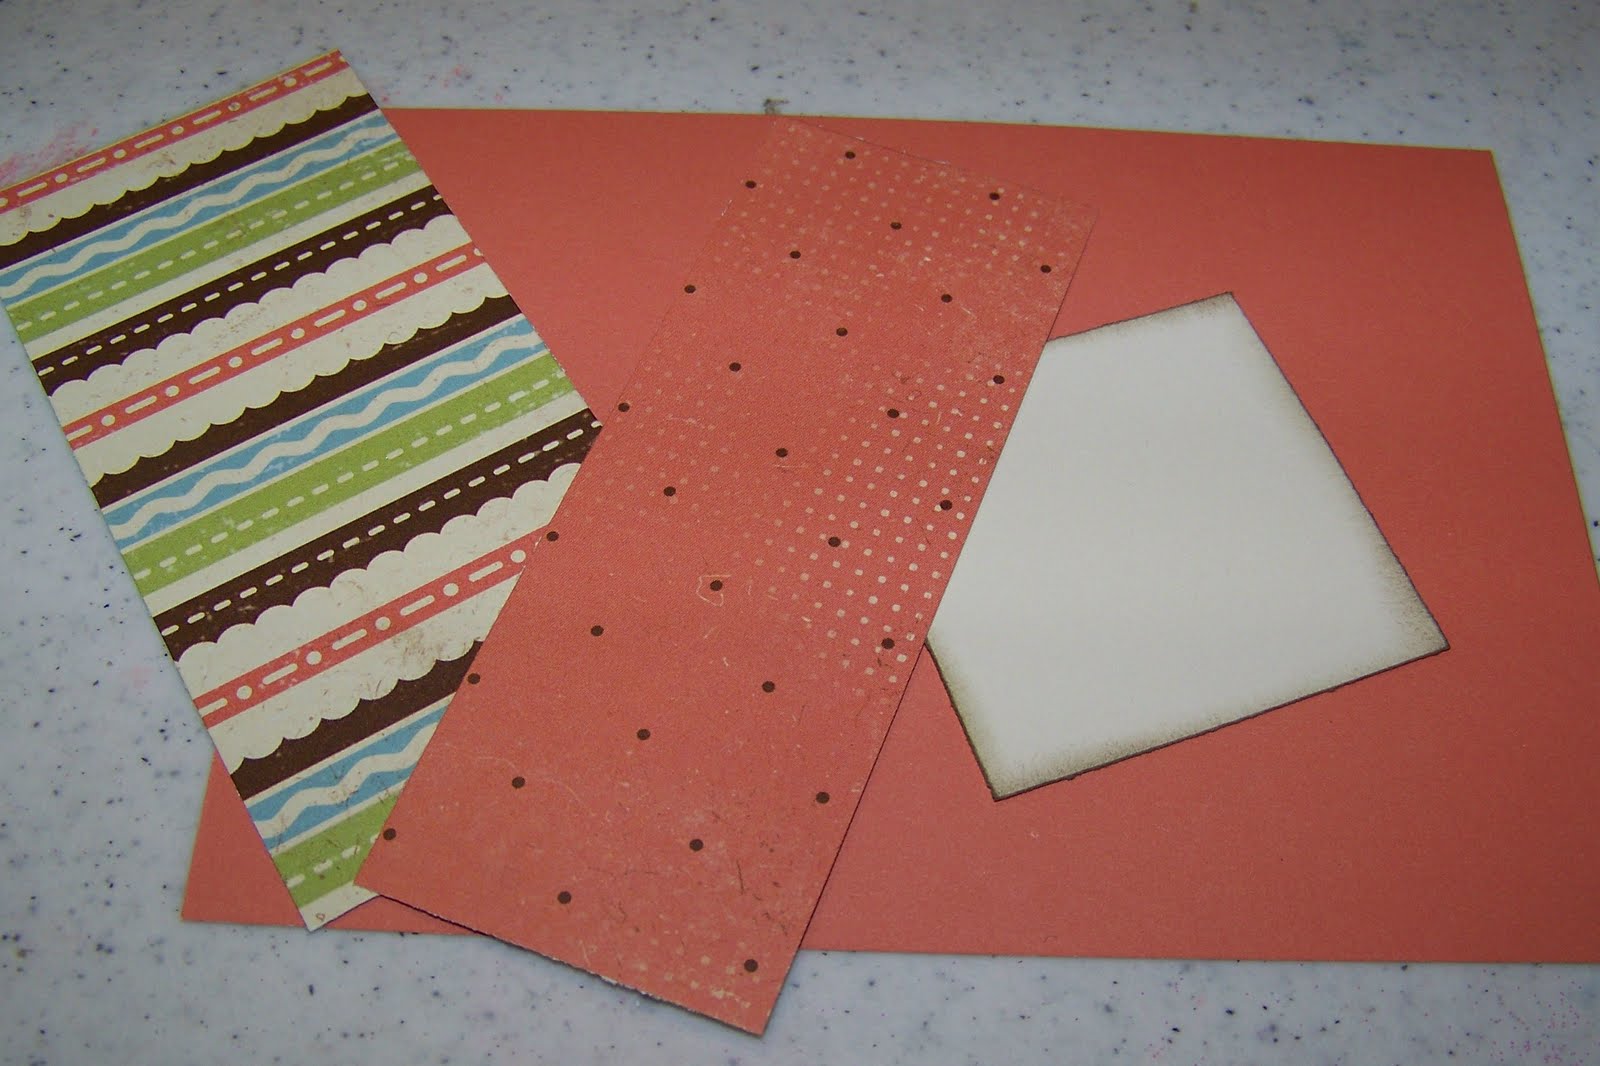
 Cut another pattern paper 6 1/4 by 1 1/2 inches. Distress. Attach two large pieces together then add the strip 1/2 inch from outside mat on the left.
  Cut another piece of colonial white cardstock 2 1/4 by 2 1/4 and a matching pattern paper mat 2 1/2 by 2 1/2. Stamp a flower from the Tickled Pink stamp set on a scrap piece of paper in juniper ink then cut it out. Add it to the center of the small mats and attach at a diagonal to the notebook about 1 inch down from the top.
 Stamp a small flower center in tulip ink and cut out then attach to the middle of the flower.
 Stamp another small design inside the flower circle in juniper ink and you're done. But I wasn't. I studied the almost finished product and completely changed my mind, not liking the center flower at all. I felt like the juniper flower didn't stand out enough and the tulip center was too bright especially since their wasn't much of the tulip coloring in the background paper to make it "fit." I tore the whole middle flower off.
 Instead I took out a second set of stamps, Endless Friendship. I used the flowers from that and stamped them in sorbet and the centers in juniper then cut them out. Add the three flowers to the center of the small mat and let them overlap. Take the "so happy" stamp from the Tickled Pink stamp set and stamp it in juniper then cut it out closely around the letters. Add it to the bottom of the notebook. Add a couple of sorbet colored ribbons to the top and bottom bindings and it looks so much better. These are completely low cost but wonderful little stocking stuffers or small gifts for that mail carrier who goes out of her way to give you good customer service or the secretary at your church who always has a smile on her face, you know who I mean, make them feel appreciated.
Saturday, November 28, 2009
All My Love
8 1/2 by 5 1/2 colonial white cardstock, folded in half. Once finished with card front, attach it to this base
5 1/2 by 4 1/4 sorbet cardstock
2 by 4 1/4 striped pattern paper
1 3/4 by 4 1/4 sorbet dotted pattern paper
2 by 2 colonial white cardstock
Distress if desired with chocolate ink.
 Use your trimmer and a dry embossing tool to make two lines around the outside of each side of the card about a 1/4 inch apart, sand to show white core.
 Glue the polka dot paper on the striped paper then attach about and inch and a half down from the top of the card (opening to the right). See how easy this comes together!
 Stamp the "i love you" heart on the colonial white cardstock square using sorbet ink.
 Glue that piece about a half an inch from top and left hand side of the card.
 Stamp the word "cherish" on the card just below the striped piece as shown.
 Round the corners with a corner punch and re-distress the edges and you are finished! Give this card to someone you love!
Wednesday, November 18, 2009
Lights, Camera, Action
For this card/page you will need to cut your paper like this:
6 x 12 card base, colonial white cardstock works well, fold in half
6 x 6 card front, outdoor denim cardstock
5 3/4 x 5 3/4 olive pattern paper
1 1/4 x 6 plaid pattern paper
1 3/4 x 4 1/2 outdoor denim cardstock
1 1/2 x 1 1/2 barn red cardstock
4 x 3 barn red cardstock
3 3/4 x 2 3/4 olive cardstock or pattern paper
3 1/2 x 2 1/2 barn red pattern paper
Distress, if desired, with outdoor denim ink.
 Glue olive pattern paper to card front.
 Attach blue plaid strip 1/2 inch from left hand side of card, flush with top and bottom edges.
 Add largest piece of barn red cardstock about 1/4 inch from top and right hand sides of card.
 Glue down olive cardstock or pattern paper, whichever you decided to use.
 Using Giggle Lowercase stamps (or another alphabet set), stamp the words "movie night" on the barn red pattern paper in outdoor denim ink. Glue to the center of the olive paper.
 Attach outdoor denim 1/4 inch up from bottom, flush with the left hand side.
 Stamp two of the movie icons (of your choice) from the set in outdoor denim ink on the barn red cardstock squares.
 Glue those two pieces on blue strip starting about 1/2 inch from left hand side.
  Add three outdoor denim brads starting one inch down from top left of the card, an inch apart. Stamp the words, "That's a Wrap" below the "movie night" title. Attach to card base opening either to the bottom or to the right. And, like the stamp says, That's a Wrap!!
Saturday, November 7, 2009
You Rock
 I was given a challenge by my upline's upline's upline's upline (ha ha) to do a workshop based on an 8 card making pattern and so far have made two of the cards. Here's the first one and I love it, hope you will too. The paper pack is Twitterpated, definitely the best of our new paper sets in my humble opinion.
Cut the paper as follows:
5 1/2 by 8 1/2 colonial white cardstock, fold in half for card base
5 1/2 by 4 1/4 sweet leaf cardstock for card front
5 1/4 by 4 sorbet pattern paper
4 by 2 1/2 chocolate pattern paper
4 by 2 striped pattern paper
4 by 2 1/2 sorbet pattern paper
3 3/4 by 2 1/4 colonial white cardstock
Distress everything with chocolate ink. Glue chocolate pattern paper in center of the large sorbet pattern paper.
 Attach that to the large sweet leaf card front.
 Add striped pattern paper directly in the middle of the chocolate pattern paper. Isn't it wonderful how they all go together?
 Put smaller sorbet pattern paper vertically in the center of the card as shown.
  Stamp the guitar on the colonial white cardstock using sweet leaf ink. Tilt it slightly to make it fit. Don't forget to use the foam cushion that comes with the stamp set under your paper.
 Stamp Rock On as shown using crystal blue ink.
 Use wiry sponge tool to make tiny little specks of sorbet color all over the stamped piece.
 It really fills in the area so it doesn't look so blank.
 Attach this to the center of the sorbet pattern paper frame.
 Here are our pretty Twinkle Brads, they are actually in pastel colors, the photo doesn't show their true colors.
  Add five of them to the bottom of the cards, about a 1/4 inch from the bottom.
 Put a dot of glue on all the tiny chocolate brown dots on the pattern paper and cover with glitter.
 This is a rocking card so we need a little glitter and shine, right? Stamp one of the other sentiments on the stamp set inside the card and attach the whole card front to the card base. Enjoy!


 Posts
Posts


