1) Go to Studio J HERE and sign in as "not ready to create an account" user. It will take you directly to Studio J's start page.
2) Click on Create a new project.
3) Choose a name for your project (this will not be the title so any name will do).
4) Click on the button that says "upload photos" and upload a few from your computer.
5) Once uploaded, click on continue (it's at the bottom lower side).
6) Now comes the fun!! Choose a paper kit!! Don't worry if you don't like every single paper in any kit because you can pick and choose once you start creating. I usually choose something that goes with the theme and the colors of my photos.
7) Choose a pattern next. Go over to the top right of the page and you'll see a pull down menu where you can choose how many photos you need to put on the page. Find a template you like.
8) Next you can choose a kit mix, remembering again, that you can change many of the papers and where they are on the page.
9) Once your page loads, just go over to your photos with your mouse and move them into the photo opening that you like. The photo will be adjusted to fit but if it's not quite perfect, click on the center and a "hand" will appear, use your mouse to move the photo to center it.
Once your photo is in, you start decorating and refining. We'll talk about that tomorrow but you can GET STARTED TODAY!
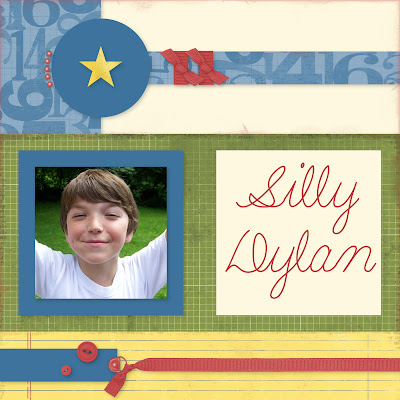
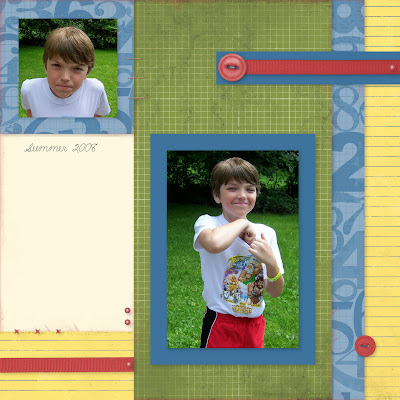
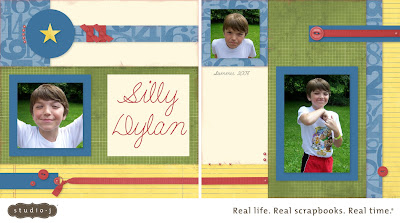
Here's my nephew Dylan being his adorable self!


No comments:
Post a Comment