
 I hope you have been enjoying this series on how to use the fabulous digital scrapbooking program, Studio J. Please see the posts below this one if you've missed anything.
Now, I can tell you that you really don't need all these instructions to start Studio J, I'm just helping you skip over some of the learning process here. The truth is, it's so easy to do and I know you can GET STARTED even without my posts here.
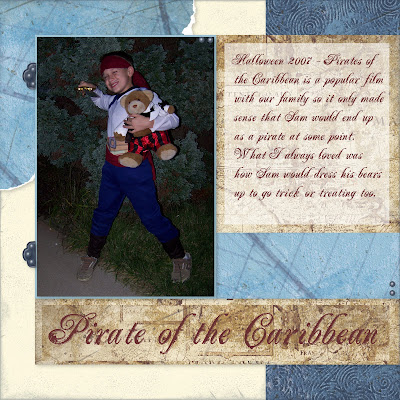
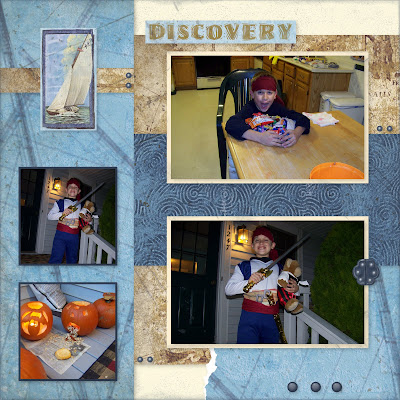
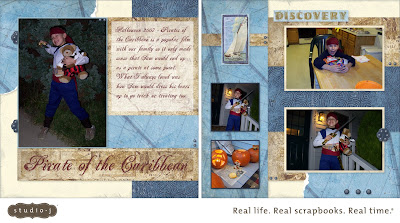
Today I want to tell you a little bit about the distressing tool that you can use when making your Studio J layouts. Distressing is not for everyone or every layout but some layouts are just screaming for some distressing. The one above is a perfect example. My son dressed as a pirate for Halloween a few years back. Distressing is just what this layout needed because I wanted to have a whole rustic, pirate-y, worn out look to the pages. I wanted the whole page to look much like a crinkled old treasure map!
The distressing menu is on the left hand side of your layout editing. You have the opportunity to choose from many colors to distress with (all of them technically but they do offer the best suggestions for the color scheme of the paper set). Choose a color, darker ones to make it really show well, lighter ones if you want a more subtle look.
You are given three types of distressing: CROSS, DIRECT, AND SPONGE. Cross is a criss-cross look with an "x'ed" edge. Direct is more color along the edges and a slightly wrinkled look and sponge is a softer, subtle sponged look. You also can change the surface of the paper by using a SANDING or STUBBLE tool. The stubble is a much rougher look. I use that when I feel like my cardstock looks too modern or smooth.
To use these, click on the tool you want then, using your right finger on the mouse, slide the distressing over to the patterned or cardstock paper on your layout. You do have to do it for each section of paper, you'll see it change right before your eyes. This way you can choose only to distress certain papers if you want.
If the distressing isn't intense enough for you, click on the paper on your layout and change the percentage of distressing. You'll also see an erase tool too, to get rid of the distressing.
YOU CAN EVEN DISTRESS YOUR JOURNALING MAT. It will roughen up the edges so that the journaling block isn't perfectly square or rectangular.
So, that's pretty much it for distressing, it's one of the easiest tools to use and really, it makes a nice difference in your layouts so try it out!


Just posting to let you know someone is reading. I'm not sold on the digital but I am watching your blog on this. I'm too tactile to want to switch or even add digital to my repetoire. The younger gals seem to really like it though
ReplyDeleteAt the very least, you can use it as a tool to "try out" a layout you want to make with traditional materials. Because it's free unless you want the layouts printed it could be a way to experiment with a look.
ReplyDelete