Studio J is very easy and you probably don't even need my help or instructions at all but I'm posting some of what I've discovered using it in case you do want a little help. If not, time to try it out RIGHT HERE!
You've logged in now, uploaded your pictures, chosen your paper kit and pattern template and moved your pictures into place. Let's now look at some of the cool things you can do to your photos. Click on one of the pictures you've placed and see a whole menu pop up.
SCALE: The scale tool allows you to make your pictures larger or smaller so that your photo will fit perfectly into the template space. Normally I find I don't even have to use it because Studio J already does a great automatic job, but occasionally you may need to make your picture larger or smaller. This saves you a lot of time on editing before you upload your pictures. You can do it right on Studio J.
ROTATE: What if your picture isn't exactly rotated right, you took it on an angle and want it straight or you want a straight picture on an angle? Use the rotate key to get it just right.
The next three buttons are easy:
1) Remove picture from that template spot. (Don't worry, Studio J actually puts a check on the pictures you've used and removes it when you move the picture from the template position so you won't have to keep track).
2) Flip horizontally. Make your photo look the other way. Remember it's always best to not have the people in your photos looking off the page.
3) Flip vertically. Now I'm not sure how many times you may need to do this but you never know!
EDIT PHOTOS ICON: Now this button is fun. Control brightness, contrast, hue and sharpen your picture here. Who needs to be a great photographer with the ability to fix everything!! Want to erase a wrinkle, smooth out bad skin, whiten teeth? Click on the "select tool" button and do all that and more! Just choose your tool, the size of tool you'll need, and move your mouse to the photo and go to town. Now we can all look airbrushed like the models on magazines. Don't like the fixing you did? Click "undo" and do it again.
What if you don't want a photo in that template spot, instead you want a journal block? Just click on the next icon, "convert to text well (or convert to photo well)" to switch from one to the other.
Finally the last icon on the top of your photo is the delete photo or garbage button. Only use this if you don't want the photo to remain uploaded at all.
FILTER: On the bottom of the photo menu you have the option to turn your photo from full color to black or white or sepia. I'm doing this on a layout about the small town we visit often, St. Joseph, Michigan. It's been around forever so I thought it would be cool to have the photos look older.
MAT: I'm a big fan of mats around my photos. It's their very own picture frame. With the mat tool you can make mats in different widths and different colors. Choose your width size in the pull down menu and then the color box will pop up. At the top of the colors are the hues that Studio J recommends for this particular paper set but you have the option of using any of the 60 different colors that we make.
CLEAR DISTRESSING: The last icon is to clear distressing when you've put it on. You'll do that with the distressing tool on the left hand side of the page, I'll explain that tool in another post.
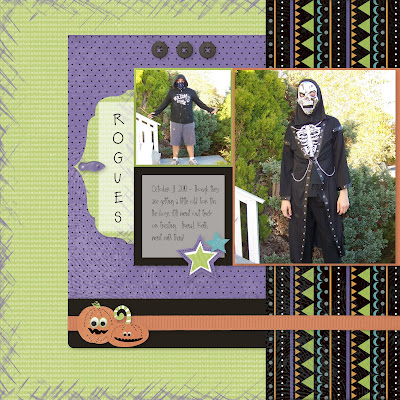
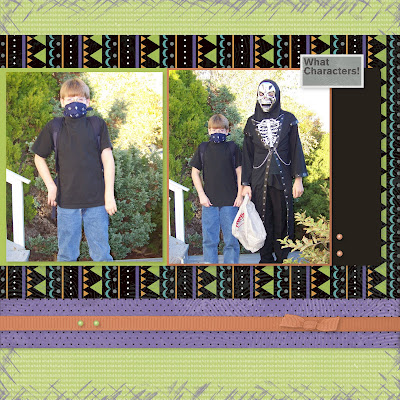
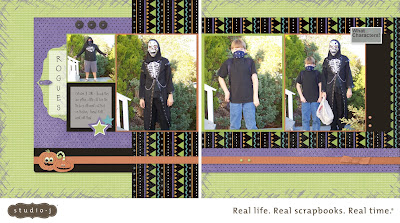
Tomorrow we'll talk about how to change the patterns and cardstock papers on your layout. In the meantime, how fast do you get your Halloween pictures done? Halloween was just a few days ago and my layout is finished with Studio J!


No comments:
Post a Comment