Check out the posts below this one to get up to speed. We've now loaded our photos, adjusted them to whatever color and size we wanted, airbrushed, brightened teeth and are ready to start decorating. It's my favorite product of scrapbooking, paper!! As I said previously, you choose your paper first but you can change it around quite a bit.
1) Click on the paper link on the left hand side of your Studio J page. A whole buffet of pattern papers and cardstocks will pop up. You'll notice that under the pattern choices you have many coordinating color icons. Those will mellow out and make your pattern papers much more subtle in the color you choose. Try them out and see how that works easily. Great! Now you have lots of options for changing the paper choices on your layout. I want to let you know that Studio J is set up so that when you change one of the papers on your layout, all the paper in that pattern or color will change at once. At this time you cannot change just one small section at a time but I wouldn't be surpised if that didn't happen at a later point.
2) Now what I do when my photos are on the layout is to start playing with the paper. I try different pattern papers, full color and one color AND cardstocks in the different sections of my layout. I play until I have a layout that makes me go YES!!!! All you have to do is to left click on the paper of your choice in the paper section and slide it over to the paper you want to change on your layout. Make sure you keep your finger holding down the mouse as you slide.
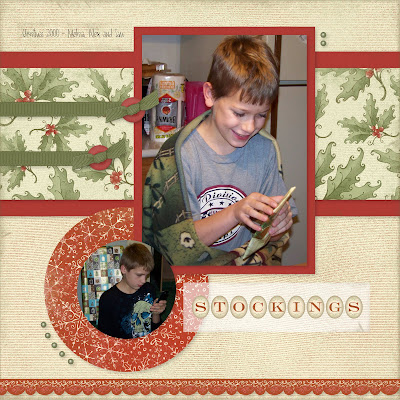
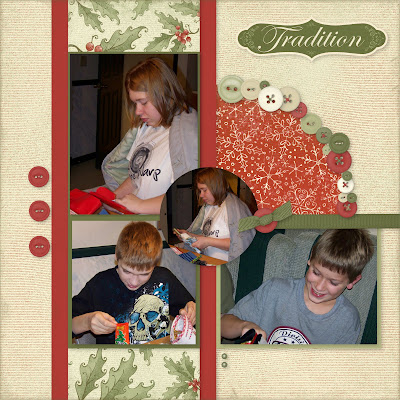
Try to use the gallon, quart, pint rule when choosing your patterns and colors. Use a large amount of one color or pattern, a medium amount of another and a small amount of the third. This will keep your page from being overwhelmed and put the focus where it should be, on the photos. You can see on the layouts below that the colonial white striped pattern is the "gallon" and the holly paper is the "quart" and the red snowflake paper is the "pint."
3) Another way to change the colors of the paper is to click on the paper ON THE LAYOUT. The menu box will pop up and you then have the choice of any of our 60 colors to choose from. It will change the color, even of the pattern paper to anything you want.
4) What if you like the pattern paper you chose but don't like that the print is horizontal? Just click on the paper on the layout and hit the rotate button, it will turn the pattern vertical.
5) What is the paper is right but the intensity of color needs to be taken down a notch? Just click on the paper on the layout and the menu will pop up where you can change the percentage of brightness of that paper. (This option is not possible on every paper set but is on the newer ones).
It's so easy! Are you excited yet? Well, time to get going, click on this LINK and you can start this minute!
Tomorrow we'll be discussing distressing!!


No comments:
Post a Comment