I've fallen in love with clear cards. They are so unique and beautiful but do take special instructions to show them of at their best. First off it's important to know that the clear cards sold by Close to my Heart have a clear film on both sides of the card that you need to pull off. I usually can pry it off with my fingernails but you can also try a glue eraser. Remember there's one on the inside of the card and the outside!
 I used the stamp set "Believe" from the Believe Workshop on the Go, it's adorable. It contains a holly leaf that you do in steps which makes it easier to really mix up the colors. Stamp the solid part of the holly leaf in garden green on a piece of white daisy cardstock that you have cut 5" by 3 3/4".
  Stamp the outline of the holly leaves in New England Ivy ink. Lining up is easy with clear stamps!
 Now use the small berries in cranberry ink to add the final touch.
 Stamp the "holiday cheer" stamp in New England ivy on a piece of white daisy cardstock you've cut 1" by 1 1/2".
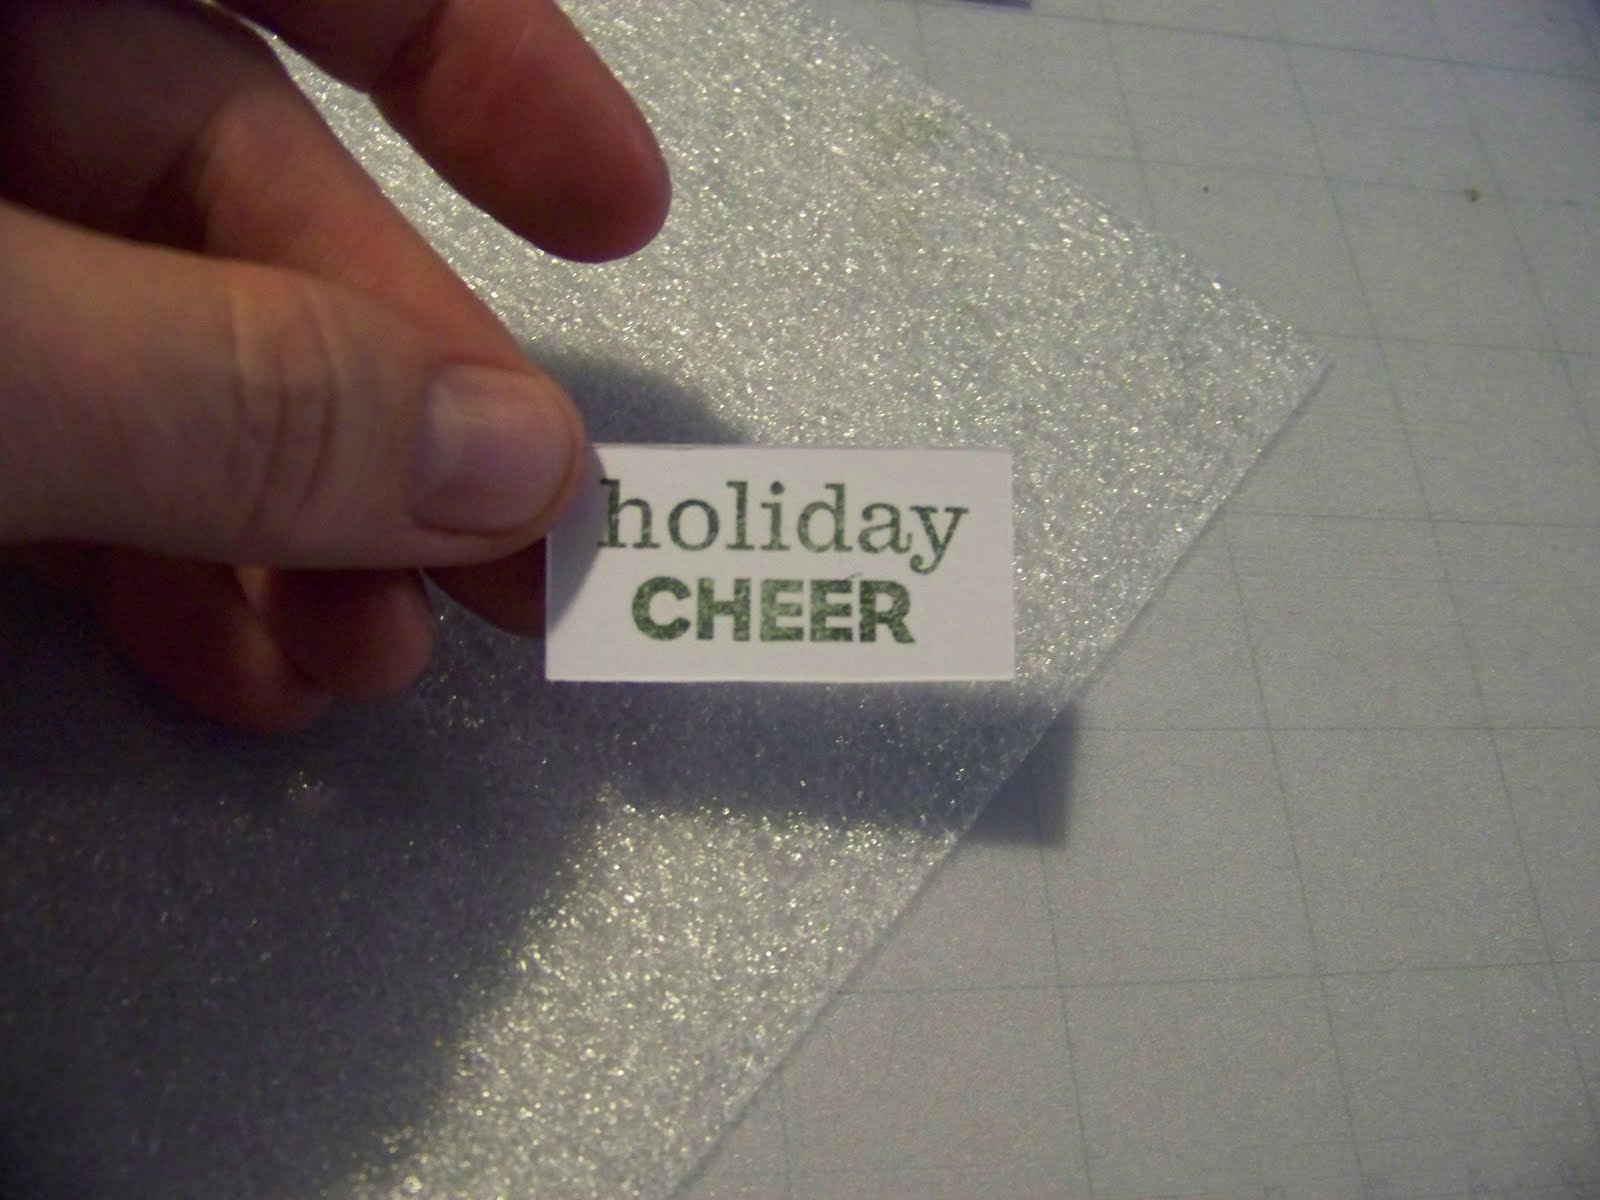 Cut some cranberry cardstock 5 1/4" by 4" and a piece of New England ivy cardstock 1 1/4" by 1 3/4". Use your Art Philosophy Cricut cartridge and cut your letters at the 2" size. I cut the J and the Y as capital letters and the O as a small. You will need TWO of each letter. Distress all the pieces with New England ivy ink.
 Glue the large cranberry cardstock TO THE BACKSIDE of the card. Do this to hide the adhesive, also make sure you put your adhesive in about a half inch so as not to show behind the stamped piece.
  Glue the stamped holly piece INSIDE of the back of the card, centering it on the cranberry cardstock.
  Glue the "holiday cheer" piece to the New England ivy mat and attach right on the stamped holly piece (on the inside of the card).
  Close the card and glue on the JOY piece.
 Now open the card and glue the letters again on the inside of the card back to back with the letters you put on the front. This hides the glue.
 Close the card and use some silver glitz glitter gel to make dots on the letters (front of the letters only). Let it dry for a couple of hours.


Ohhhhh I made your "Joy" card at the Athens crop! I love it. I really like how your glitter glue dries so quickly too!
ReplyDeleteLaura C - Michigan
LOVE IT!! So pretty. I have a clear card that I got as part of a hostess gift quite some time ago----now I know how to use it! :D Thanks for sharing. Can't wait to see all the other creations you will have. :D
ReplyDeleteThis is really pretty! I will definitely have to try some clear cards in the near future. And glitter makes everything better in my book.
ReplyDelete