

This is part seven of my eight part series on Studio J digital scrapbooking. If you don't need my help just CLICK HERE to get started on your own.
The stickers that Close to my Heart sells are called Stickease and they are very popular. Well, you can use them in Studio J too! Once you've put your photos in, added your titles and journaling and picked just the right papers and distressing looks that you want, it's time to start adding embellishments. The easiest are the Stickease. They are already made up for you and you can move them easily over to your layout.
As we discussed yesterday, one of the Stickease embellishments is a fancy alphabet that's meant to go with the particular paper set that you are using. You can simply grab the letters with your mouse and put them anywhere on your layout. Click on them and resize. Hit the garbage can icon to remove.
The second option in the Stickease set are the tags. Just like tags on your regular layouts, use these to label items or even add a file folder tab effect at the top of a photo or a journaling block.
Go up to the Stickease menu again and click on the quotes tab. Here you will cute sayings that you can just slide over onto your layout. Once there, click on them to resize to your liking.
Next up are 3 sizes of accents, large, medium and small. Move any over, click on to resize. One cool thing is to layer accents. You can move these over each other and add brads, buttons and ribbons with them (I'll discuss those tomorrow).
Lastly on the Stickease menu is the borders tab. These can be grabbed and taken over to your layout. Click on the end of the border to resize or to even move over to just the spot you want it. Studio J automatically shortens your border to "stay on" the layout too.
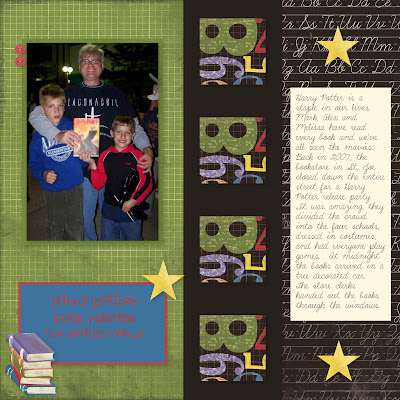
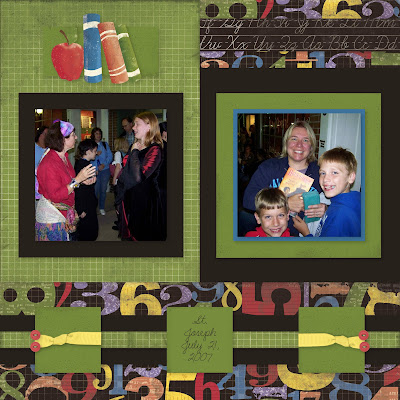
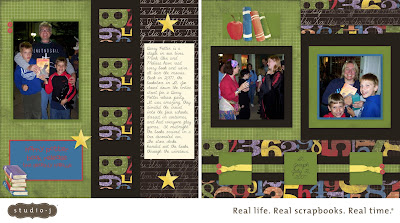
You can see how I used a lot of Stickease above on the layout, the stars and books are all Stickease, sized to my satisfaction and put exactly where I wanted them. Now it's your turn, CLICK HERE to start trying out Studio J for yourself!


No comments:
Post a Comment